Showing posts with label dessert. Show all posts

Thursday, September 29, 2011

Lemon Meringue Pie


Lemon Meringue Pie is one of those basic pie recipes one should master as a baking newbie.  It is so basic that kids in cooking shows know how to do it.  And a talented teenager has actually mastered and shared her perfect pie in her website Whisk Kid.

The pie recipe in Whisk Kid used an actual pie crust.  Stupid me cannot even make a decent pie crust.  I blame it on the hot humid weather of the Philippines!  So, I had to be resourceful and just use a basic graham cracker pie crust.

This pie has the right combination of sweet and tart.  I love how the lemon balances the sweetness of the meringue.

Lemon Meringue Pie
from the Whisk Kid (Lemon Filling and Meringue recipe adapted from Allrecipes.com)


I had a very frustrating experience making the pie crust from the website so I had to resort to the graham cracker pie crust from Ina Garten's Barefoot Contessa Family Style cookbook.

2 cups graham cracker crumbs
1/3 cup sugar
1/4 teaspoon ground cinnamon
1 stick (1/2 cup) unsalted butter, melted

Mix all ingredients together and press into a 9" pie plate (you will have some leftover because the recipe is for an 11" tart pan).  Bake at 350F for 10 minutes then cool to room temperature.


Lemon Filling
4 egg yolks, room temperature in a heatproof bowl
1 cup sugar
2 tbsp flour
3 tbsp cornstarch
1/4 tsp salt
1 1/2 cup water
2 lemons, juiced and zested
2 tbsps butter, room temperature


Preheat oven to 350F.

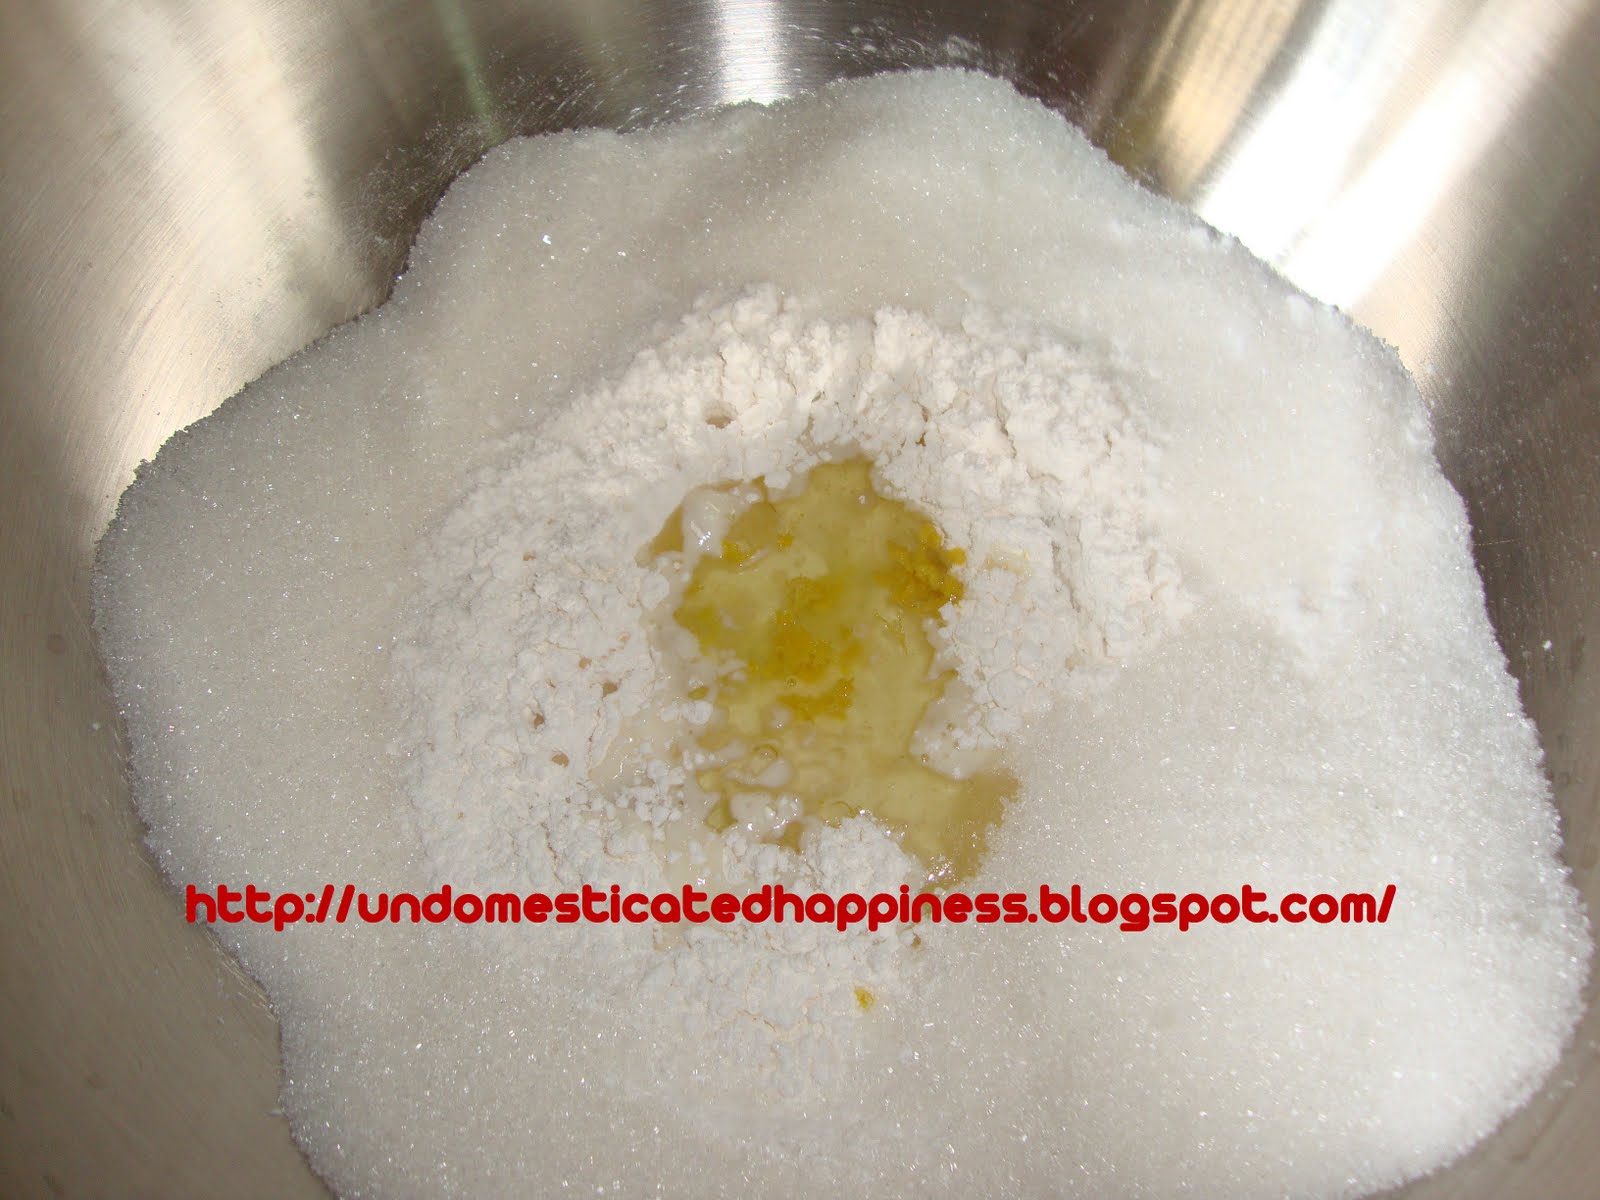
In a medium saucepan, mix the sugar, flour, cornstarch and salt.  Add the water, lemon juice and zest and cook in medium high heat.  Stir frequently until this mixture comes to a boil.

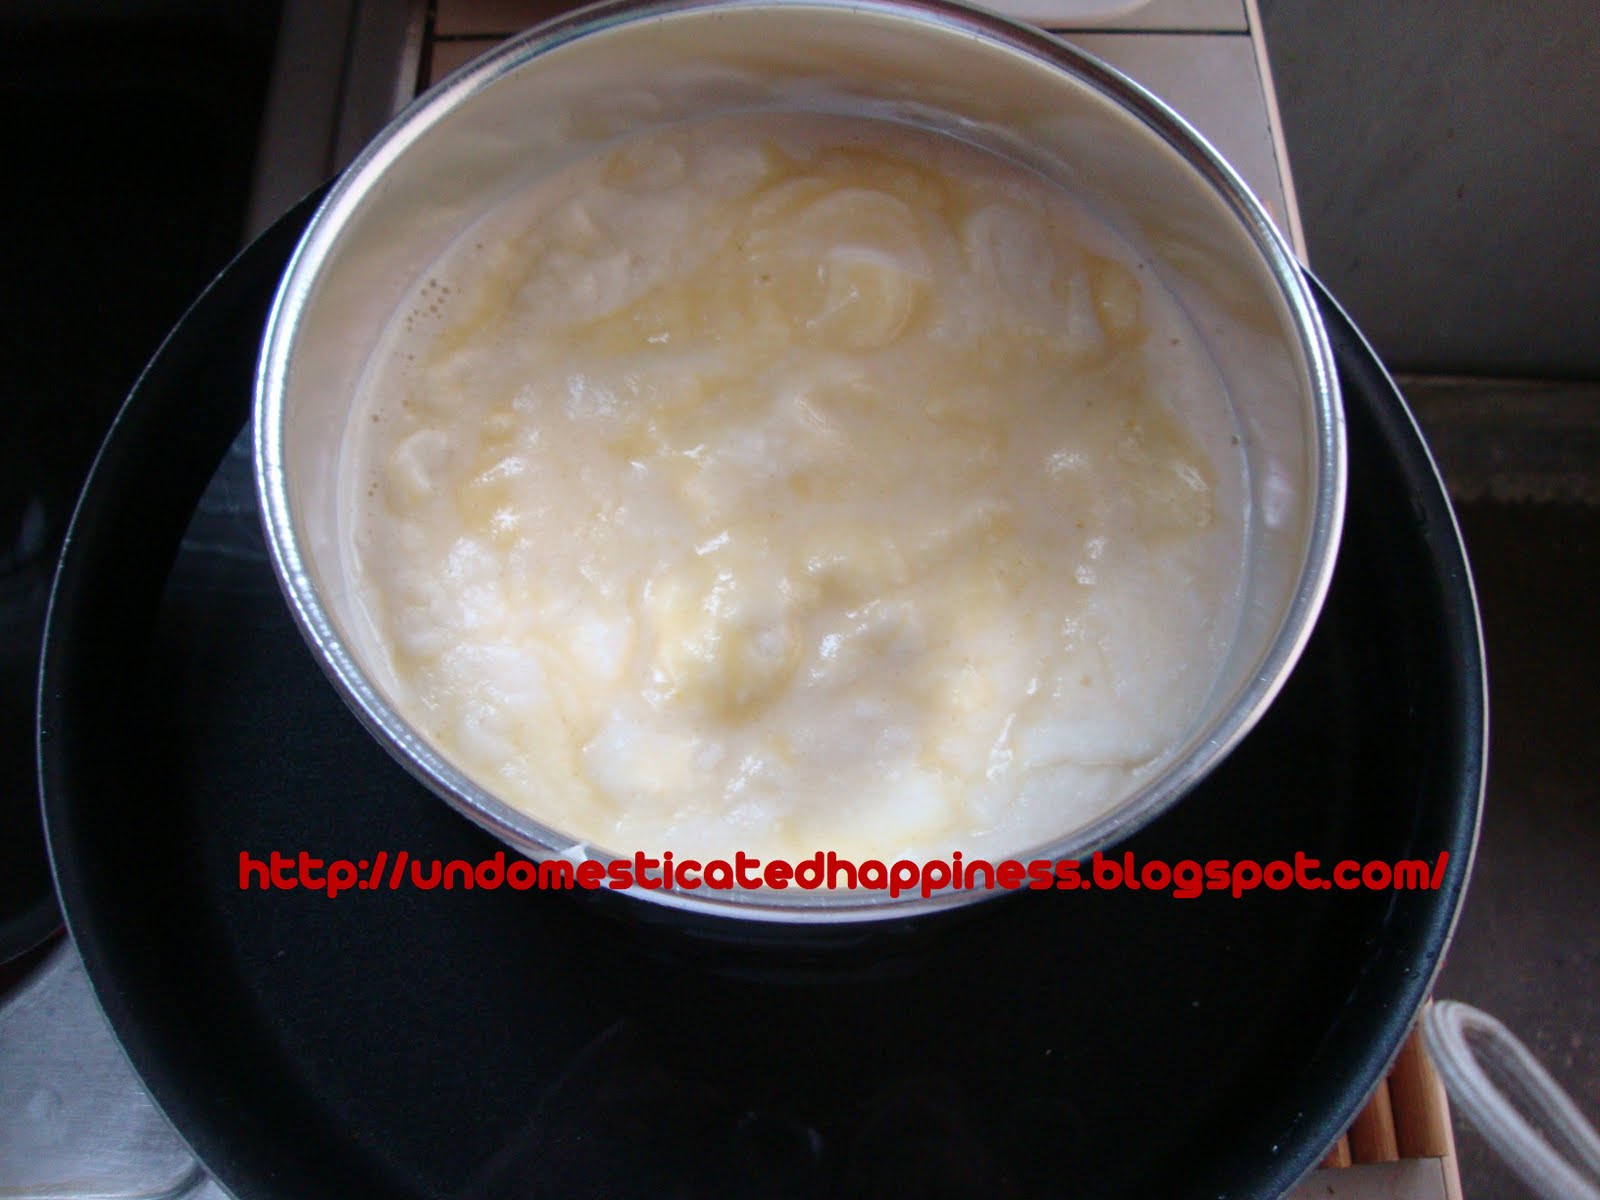
Add the butter until melted.  Pour half of the mixture to the egg yolks and whisk immediately.  Pour the egg yolk mixture back into the saucepan and return to heat.  Cook while stirring frequently until the mixture is very thick.

Pour this mixture over your prepared pie or graham cracker crust.

Meringue

4 egg whites
6 tbsp white sugar

In a large bowl, whisk the egg whites until foamy.  Gradually add the sugar and beat until stiff peaks form.  


Spread the meringue over the filling making sure to seal the edges. 


Bake for 10 minutes or until the meringue top turns golden brown.


I should have a kitchen torch :-(


Pawis rating: 5 of 5 because of the pie crust!!! Otherwise, this is a simple recipe for beginners :-)

Monday, September 5, 2011

Tablea Chocolate Cake

Disclaimer: I'm a home cook wannabe, not a photographer :-) My photos below will show you why.

This is my second recipe from the September 2011 issue of Yummy magazine. This month's issue is all about Filipino food - yes, I know, it can be boring. But, tablea? Never boring! Give me anything chocolate and I'm awake LOL!

First off, the Filipino dishes are not bad at all! I tried the Fishtek Tagalog and the kids loved it! A simple and tasty dish. The Prawns in Aligue is next in my list.

Most important is an article on tablea desserts! I'm super tempted to try the Tableche Flan with Kahlua but (1) I don't have Kahlua, and (2) I don't have enough eggs at 12mn! Yes, I cook at odd hours of the night/morning.

I went with the Tablea Chocolate Cake from Chef Aileen Anastacio and I was not disappointed! The cake was super-moist. It stayed that way even after 1 day in room temperature and 2 days in the ref. The chocolate taste was right on spot - not too sweet in the right gooey-ness. This is the type of chocolate cake you'd get from a good restaurant. The entire cake was finished in one day (and this is a double layer 8 inch!) and a slice was left in the ref for my husband. It was that good!

Chocolate Tablea Cake
Yummy Magazine September 2011

  • 1/3 cup cocoa powder (I used unsweetened Hershey's cocoa powder)
  • 3/4 cup tablea chocolate, chopped finely (I didn't chop and I didn't have a food processor, so I grated the tableas)
  • 1 cup boiling water
  • 1/2 cup butter, cubed and softened (I used unsalted)
  • 1 3/4 cup sugar
  • 3 eggs
  • 1 tbsp vanilla extract
  • 1 3/4 cup all-purpose flour
  • 1 1/2 tsp baking soda
  • 1/4 tsp salt
  • 1 cup milk

For the icing:
  • 20 ounces bittersweet chocolate, chopped finely (I used chocolate chips)
  • 3 cups heavy cream
  • 2 tbsps corn syrup

The recipe called for 2 9-inch round baking pan. I only have 1 9-inch so I used 2 8-inch round baking pans instead.

Grease the pan with butter. Line the bottom with parchment paper. Grease and flour the pan and parchment. I already used flour when I remembered I should have used cocoa powder instead in dusting the pans. This is so that you don't get white spots when you take your cake off the pan.

Instead of chopping the tablea, I grated them. This gave me a fine powder which was easier to melt in water.

Place cocoa powder and grated/chopped tablea chocolates in a bowl. Pour boiling water and stir until chocolates are melted and smooth. Set aside to cool.

Preheat oven to 350F.

In a bowl, cream butter and sugar until light and fluffy.

Add eggs one a time beating well after you add each one. Add the vanilla.

Slowly add the cocoa mixture and beat well.

In a separate bowl, whisk flour, baking soda and salt.

Alternately add the flour mixture and the milk, starting and ending with the flour mixture. Beat until well blended.

Pour the batter into the pans. Bake for 30 to 35 minutes. Check for doneness by inserting a toothpick in the center. Toothpick should come out clean.

See all that flour on the sides of the pan? That should be cocoa powder :-(

Cool in a wire rack for 10 minutes.

You can prepare the icing while your cakes are baking.

Place the chocolate and cream in a saucepan over medium heat.

Stir constantly while chocolate is melting. Be careful not to burn your chocolate. Do this for about 20 minutes or until the chocolate is thick.

Remove from heat and stir in corn syrup. Transfer to a bowl and let cool in the ref for about 2 hours. Check and stir the mixture every 15 minutes.

Remove one of your cake from the pan and transfer to a cake turntable.

Place your icing in the middle of the cake and spread evenly on the layer of the cake. Note that I didn't even bother leveling the cake. I want this messy and gooey LOL


Remove the other cake and place on top of the first layer.

Place more icing on top of the cake and around it. Don't care about keeping the cake neat. Chocolate cakes are not meant to be neat LOL


Went all downhill from this point LOL
Go ahead, you can lick all those chocolate icing
Sliced - but just one layer - let's keep our blood sugars low :-)

Pawis rating: 2 of 5 suprisingly easy! Taste factor - 10 of 10 - a definite must-try!

Monday, August 22, 2011

Filipino Custard Cake


Fact: I can eat a whole plate of leche flan. Well, you may not be surprised with all the deserts I've been making (and eating!). There's something about the smooth custard and the sweet syrup that is just heavenly.

My daughter loves leche flan too. I introduced her to leche flan while eating at a local Goldilocks restaurant. She was hooked! Whenever she'd see leche flan at home or at a restaurant menu, she would ask for it. She takes after her mom! :-)

Leche flan plus angel cake = custard cake = sweet tooth heaven! Custard cake for me is very Pinoy. You can find this anywhere - from small bakeries outside your house to the fine restaurant uptown. This has been a pleasant dessert ever since I was little.

Off to Google again for a good custard cake recipe. Found just what I was looking for at a website by a Filipina based in the US. I browsed through her other recipes and observed several things: (1) She's not a professional food writer. She writes very straightforward - which I like. I'm not into food literature that much - Food is meant to be eaten, not to be read. (2) She has loads of tips! I read through all of these to make sure I follow her recipe correctly. I'm glad I did :-), and (3) I like that she includes the reaction of her family whenever they try the food she serves. She's very honest with this - she even mentioned her husband does not like a cake she made.

Done with the website review and on with the cooking! :-)

Filipino Custard Cake
from Kusina ni Manang

Manang's recipe is for a 9X13 pan cooked bain marie. I have a problem with this because my 9X13 pan fits snugly into my oven so there's no way I can cook this on top of another pan.

I had to divide the recipe into 8" round pans. A 9X13 pan recipe will make 3 8" round pans. I made 2 8" pans so I had leftover leche flan. I used up the whole cake batter though.

First, make the caramel. In the 8" round pans, place 1/2 cup sugar each.

Heat on top of low heat until the sugar melts. Be careful not to burn the sugar like I did, oops!

The right way
The burnt way
Prepare the custard mixture.
  • 4 whole eggs
  • 1 can condensed milk (14 oz)
  • 1 can evaporated milk (15 oz)
  • 1 tsp vanilla

Add all the ingredients in a blender.

Pulse 3 times for 3 seconds each.

Do not overblend or your mixture will form bubbles. Set this aside.

Make the chiffon cake
  • 5 eggs
  • 1/4 tsp cream of tartar
  • 2/3 cup cake flour
  • 1 tsp baking powder
  • 1/4 tsp salt
  • 4 tbsp oil
  • 6 tbsp milk
  • 1 tsp lemon extract
  • 1 tbsp grated lemon rind
  • 1/2 cup sugar

Separate the eggs. Add the cream of tartar to the egg whites and set aside.
Whisk the flour, baking powder and salt in a bowl.

Make a well in the center and add the wet ingredients including the rind. Add the sugar on the sides of the bowl.

Using a mixer, start beating from the center to the side of the bowl. Mix until well blended.

Beat the egg whites until soft peaks form.

Gently fold the egg whites into the batter with a spatula.


Assemble the cake.

In the pan with the solidified caramel, pour the custard into the pans. In my case, I used 1/3 of the mixture on each pan (so I have leftover 1/3).

Pour the cake batter on top of the custard.

Bake at 325F bain marie for 45 minutes. Bain marie is a method of cooking via a steam bath. Place your cake pan in a larger pan with water. The water has to be 1/2 - 1 inch high.

The cake is done when a toothpick comes out clean.


This is plating fail!
So painfully ugly! It's a delicious mess though :-)

A slice for me! The custard was really smooth!

Plating the second cake - again, failed
Off-center, plating mess hahaha! Bahala na si batman! It was super yummy though!

Pawis rating: 3 of 5 only because there were several steps involved. The individual steps though were relatively easy :-)

Monday, July 25, 2011

Cake Balls


Melting chocolates was never my favorite task in the kitchen. I hate it! Chocolates are so sensitive. You have to melt them slowly so they don't burn, then you have to use them quickly so they don't harden.

This very reason was behind my frustration when I first tried making cake balls/cake pops. Bakerella made it look so easy. I was fooled. I learned that in making these deserts, you have to be very quick.

But I was not one to be easily discouraged. I'm stubborn so I tried again.

Cake Balls
from Bakerella.com

Bake your cake. This could be chocolate, vanilla, whatever you like. You can use a cake box mix if you like. I used the Martha Stewart recipe I used here.

The best part is crumbling the cake.

Make frosting. I used the basic buttercream recipe I used here.

Combine the crumbled cake and frosting. Make sure the frosting is well incorporated but not too wet.

Shape into balls. I used a measuring spoon and shaped the ball using my hands.

Place your cake balls in a cookie sheet lined with wax paper.

Continue shaping the balls until you fill your cookie sheet. Place the balls in the fridge for 2-4 hours or in the freezer for 30 minutes.

Get your chocolate and decorations.


Melt your chocolate in the microwave for 1 minute or on top of the stove. Sorry, no pictures (as I said, I find this stage very stressful so I had to work quickly). Get a cake ball, cover the ball with the melted chocolate and cover in sprinkles. Place in mini-muffin cups and keep in the fridge for a few hours so the chocolate will set.

I know, I know...I wished for a neat cake ball similar to what you see all over the net. I need to practice some more!

Pawis rating: 4 of 5 hard!